Now that I no longer have facebook, I think I will move here more. Although I do now have an instagram – https://www.instagram.com/jaisolitaire/
Updates to come with knives, bags, books and bacon….

Now that I no longer have facebook, I think I will move here more. Although I do now have an instagram – https://www.instagram.com/jaisolitaire/
Updates to come with knives, bags, books and bacon….
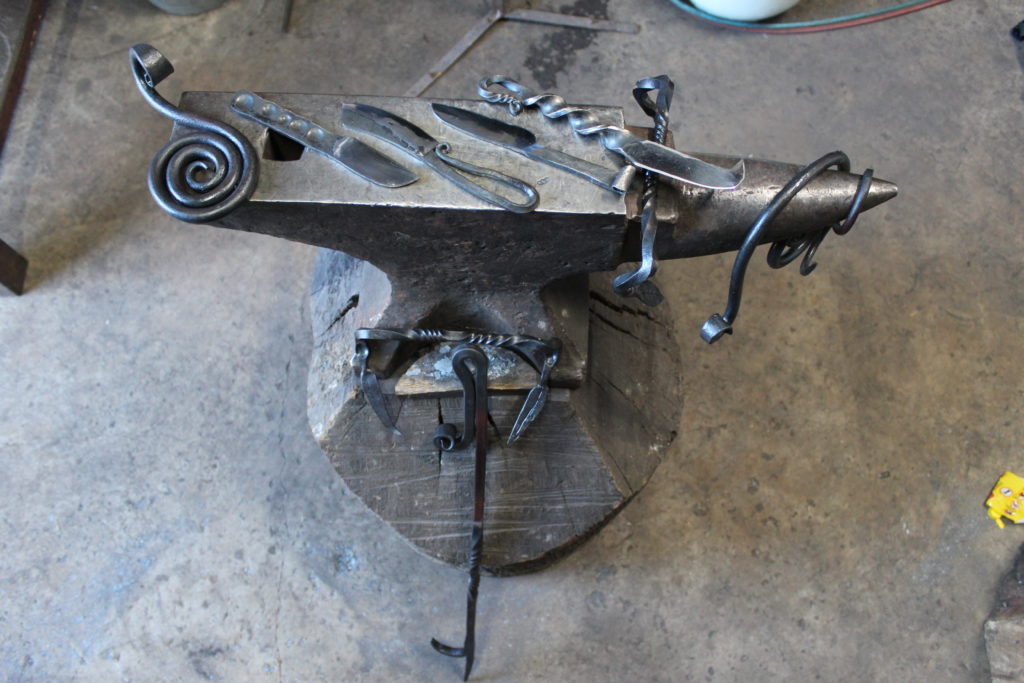
I feel like I have done very little over the last 18 months, although I know there were some knives, and some blacksmithing, and some furniture making….
Oh, yeah…


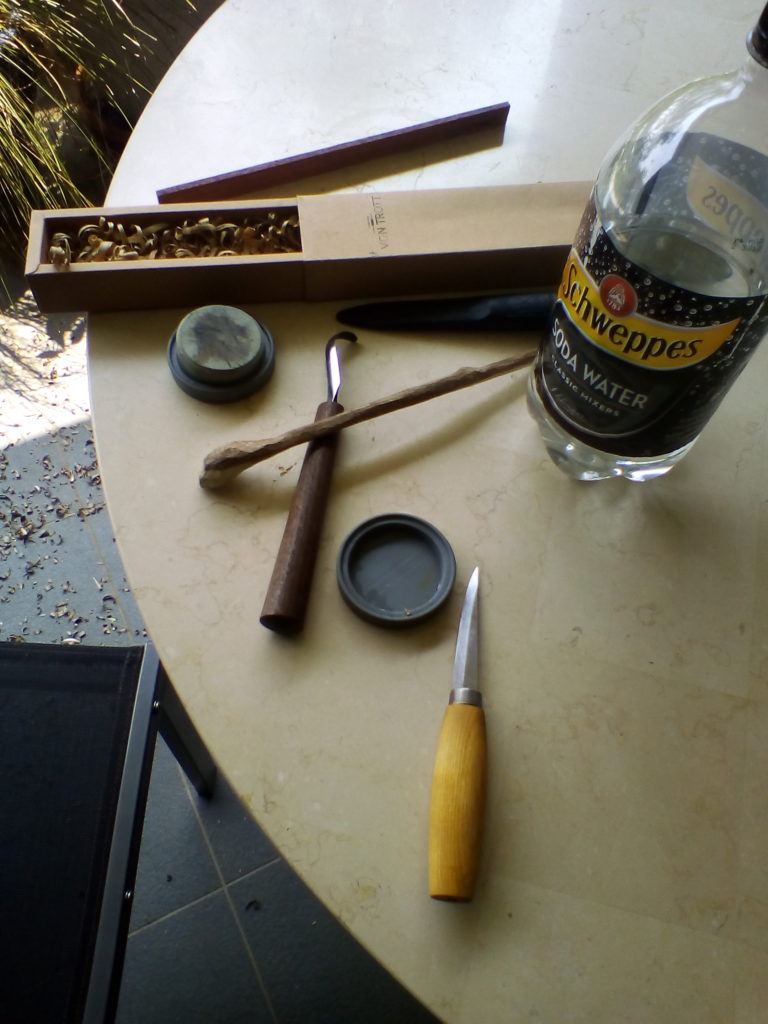
I made some woodworking tools.


So I guess not a complete waste.
Holidays, thank fuck. Terrible exams, dubious results. So now I get to make things.
In theory, I have arranged my week so that I get Friday as a study day. In practice, of course, this week (week 4) was the first time I haven’t had to run a workshop or do admin or whatever. So I made the most of it.
And back to work. And running classes every other friday. This is my first chance to relax for a month…
So I got down to the shop, and finally made a new drawbar for the mill. The drawbar it came with has 1/2″ 12 TPI thread, for some obscure reason. I bought some tooling last year that has M12 thread, because of course you do. So I have needed an M12 drawbar for a while. Behold!
My minilathe has a shitty little quick change tool post, and is really not up to parting, but we got there in the end. It coped with turning down the stainless pretty well, especially the nuts. Smallish cuts, but not tiny nibbles. Unfortunately, when I was doing the square at the end for the wrench, I neglected to seat it properly for the final cut, so one side is cut much deeper. The wrench still works, and the drawbar still works, so all good. Now I can run my gear cutter and my slitting saw, which means I can finally finish the QCTP for the tiny lathe. When I have time.
Last weekend was the first ever meetup of Melbourne Combat Robotics! Sarah and I made an antweight (150 gram) sumo bot, which somehow won two of its three rounds. Still not quite sure how… But the main thing was, lots of fun was had!
Knifemaking! Slower, now that I’m home I’m not quite doing a knife in a day. But I’m working on one for Megan –
Lots of hand filing for that crosspiece, and then I went and screwed it up drilling cross holes. So I bought a 2mm end mill. See how long that lasts …. Then a handle, and hardening.
I recently spent a week or so at Tharwa Valley Forge, doing a couple of courses. “One dayu, One Knife”, and “Blacksmithing Foundations”. Both were amazing, and I wish I’d done them years ago! The One Day, One Knife (with stock removal, rather than forging) certainly lived up to expectations – it was the perfect mix of doing the hard yards and learning the basic skills of grinding and shaping and heat treatment, with a little help from the instructor just to finesse the final shape. Continue Reading
Here so I can find them! I recently joined the Melbourne Combat Robotics group, and it’s a great excuse to finally use the lulzbot for a 150g antweight. I print with HIPs, and I tried a few things, and got the base layer lifting until I tried:
Extruder: 220
Bed: 100
That seems to be sticking. Pics to come…
Apparently this full time job thing doesn’t leave a lot of time for blog updates…
I bought a tiny lathe! This is a Taig Micro Lathe – not even a Micro Lathe II, I believe. It’s the old style with split headstock, which dates it slightly. The plan is to do it up (it actually looks in good nick, albeit covered in sawdust), and tweak it and make tooling for it to get a fair degree of precision for small stuff. ER collet chuck, etc.
To that end – my first ever dovetail!
That was certainly educational. Two main lessons, one technical, one philosophical. The technical one is that you really need to nail that depth before trying to match the actual tails. If you’re off on the depth when you get the tails right, you’ve got nowhere to go. The philosophical one is that it doesn’t need to be that close…
See?

Almost there… I need to make proper depth nuts, and then slit the body to actually get clamping, but then I’ll have a home made quick change toolpost! Then I can build a toolpost grinder for it.
Tiny lathe has a tiny chuck, which is now cleaned and shiny, and tiny lathe itself is a bit cleaner now. That’s a rotary table with brand new T-slot nuts, courtesy of less-tiny mill. One day I’ll stop making tooling and make .. .something else, I guess.
But not today. Hammers! The large one is for tapping things around on the mill and in the vice. The slightly smaller one is for the same, with more delicate things. The tiny one is because apparently I am assembling a tiny workshop, with tiny tools.
See?
My current project is a reaction wheel inverted pendulum – a single DOF version of this: https://www.youtube.com/watch?v=woCdjbsjbPg&t=4s
To that end, I’ve been milling and drilling and tapping, oh my.
For a man who buys machine screws by the hundred, it’s surprising how often I don’t have the right machine screws. Nonetheless. One of those is a motor mount, and one will form the back side of a clamp. The idea is that it’s adjustable along the length of the stick, otherwise I have to do math first. This way I can ballpark the wheel mass, and then tweak it physically.
Motor mounted:
Turns out, of course, the mounting screws for these aren’t in a square. That’s actually pretty common for these – so common I had an adapter plate lying around. Since it mattered to me that the holes be pretty precise, I used one to make up a jig. I don’t care so much about the location of the motor in terms of centred and plumb – it’s constrained pretty well by the slots. But in relation to each other I want the holes spot on. So, time to make a jig.
Drilling the top hole allowed me to put in one screw, which then holds the whole thing in place while I drill the rest.
The first screw, of course, went in fine. The second had that moment of joy swivelling the motor into place as the screw hole swung under the screw and it clicked into place. With those two in, the last two went in perfectly first time. I love it when a plan comes together. The motor itself is within half a mm of centre – not bad for a freehand jig. It’ll do fine.
And that’s the idea. Screws I’m currently missing are countersunk M3, so I can actually mount the motor and still put the clamp on the mast, and M5x14mm. I have M5x12, which are just long enough, except for one corner. I got carried away in the initial assembly and cranked a little too hard with only one screw, stripping the top thread out of the hole. So I grabbed an M5x16, which is too long. By about 2mm. And apparently I have no 14mm.
Still, at some point I need to think about mounting electronics, so the 16 may give me space to add a 2mm plate for the ESC and battery. And so it goes ….
Had a bunch of stuff going on the last year, nothing to say about it. But now, I’m finally back in the garage, and especially down in the machine shop. One project for this year will be an inverted pendulum – I’m doing an internship at the Australian Synchrotron, which is interesting, but has less math and theory than I was expecting, and I’m in danger of getting rusty. So I figure I can design and build a reaction wheel inverted pendulum – a single DOF version of this: https://www.youtube.com/watch?v=woCdjbsjbPg
So, finally, got the mill running, and made some aluminium chips:
Somewhere inside all that is a slide plate that will have a motor mounted to it:
The fit is pretty good:
It’ll end up a bit like this, but with a big spinning motor on it:
I had the same discovery that I keep making in the machine shop – everything can run faster 🙂 Both steel and aluminium now, I’ve made some cuts, they seemed a bit painful, I did more research and discovered I should be running the cutter about twice as fast. Then it gets a lot less painful 🙂 So I’ll bear that in mind when I make the actual reaction wheel …
In the background, I’ve been cleaning up an old dial gauge:
It hasn’t been treated well, and it’s a bit sticky. The internet (actually, Tom Lipton of OxToolCo) recommends light fluid for cleaning it up:
Initial results are promising – it gets a bit sticky again the next day, but it’s getting there – snaps back better now than it did.